
Getting Started
General
Billing
Map
Projects
Directory
Best Practice
OktaSync
Okta Single Sign-On enables secure access for employees, contractors, and business partners. You can read more about Okta and SSO here.
Peerdom supports both, login and sync.
1. Setting up login
- Log into your Okta admin console, and click on your name on the top-right to figure out your Okta domain. For more information, see here.

- Create a new Group in Okta, and assign all users which should be allowed to login in Peerdom to this group:
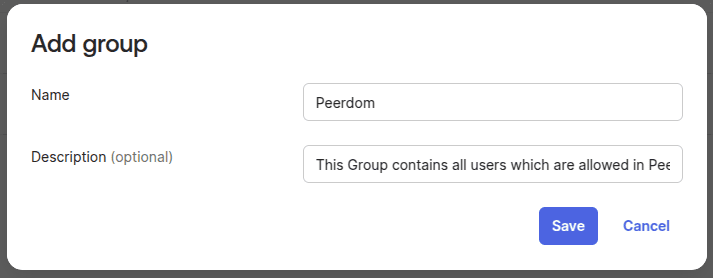
-
Note down the Group ID. More information on how to get a group id can be found here.
-
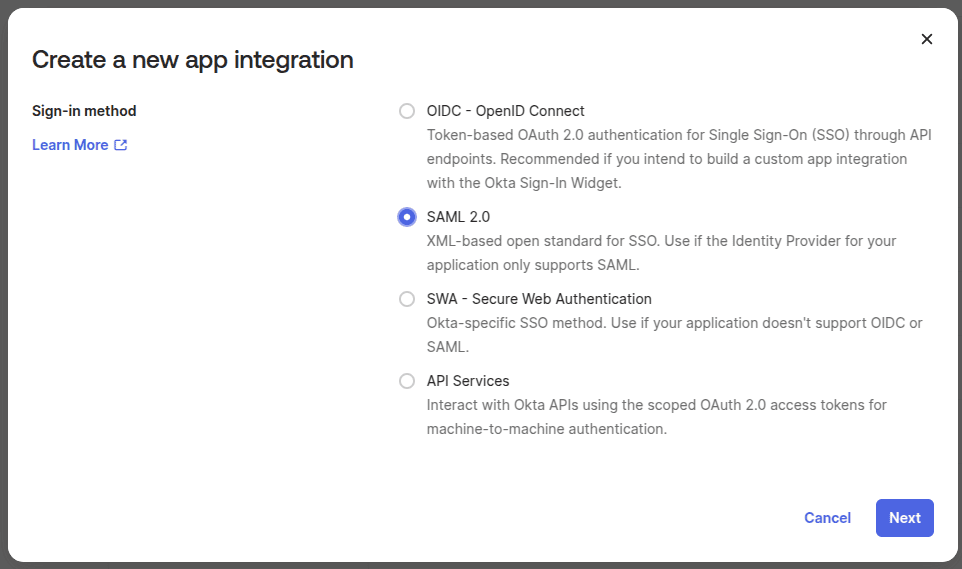
Navigate to
Applications > Applicationsand create a new application. SelectSAML 2.0as type:
- Give the new application a name. We suggest
Peerdom Login:

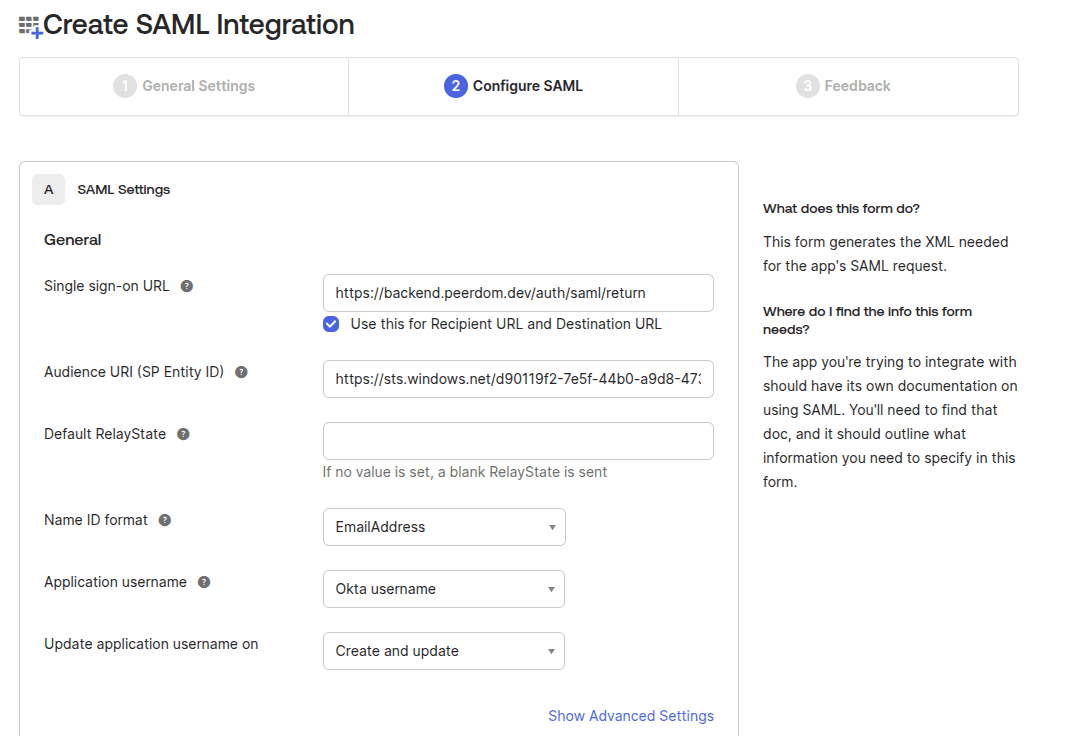
- On the next step, enter the following values:
- Single Sign On URL:
https://backend.peerdom.dev/auth/saml/return - Audience URI:
https://sts.windows.net/d90119f2-7e5f-44b0-a9d8-47399c199148 - Default RelayState: ``
- Name ID format:
EmailAddress - Application username:
Okta Username
- Single Sign On URL:
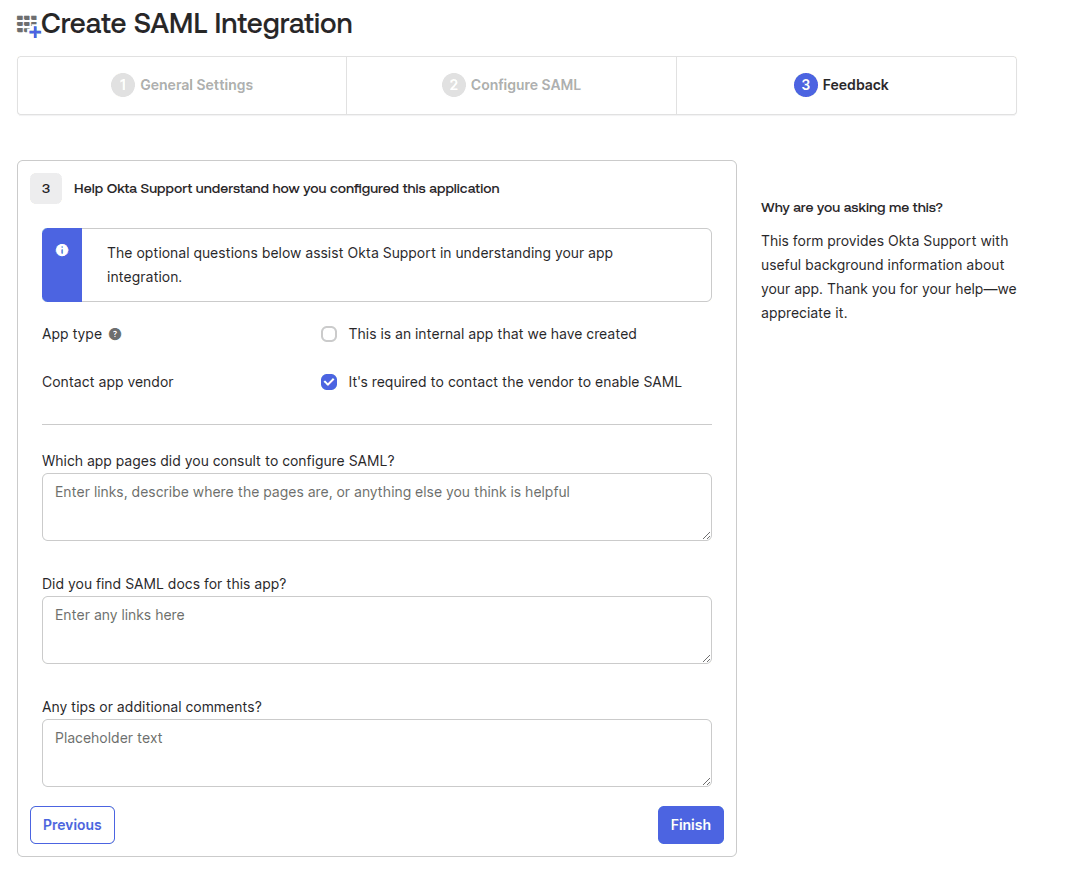
- On the following step, choose the following. The values entered here are not important, best point to peerdom.com:
- After creating the app, get the sign on URL, and copy this:

- Then, on certificates, download the SHA-2 certificate.
What we need from you from this step to make login work:
- Okta domain (
foobar-2303637.okta.com) - Okta group ID for Peerdom (Example:
00go7mng5lvG1XYPi5d7) - Metadata URL (Example:
https://dev-63420532.okta.com/app/dev-654754558_prdlogin/exkoaibohewvp0vjO5d7/sso/saml - The downloaded certificate (possible filename
okta.cert)
2. Setting up sync
Step 2 can be omitted if you only want to login through Okta. If you choose to only use login, Peerdom support has to switch manually every user to be able to use Okta login.
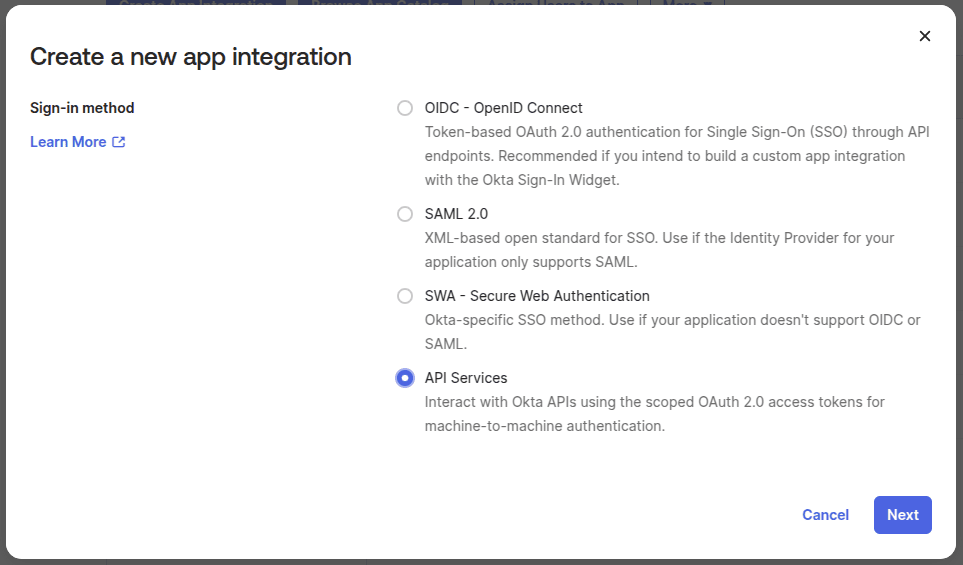
- Navigate to
Applications > Applications, and create a new application of type "API Services":
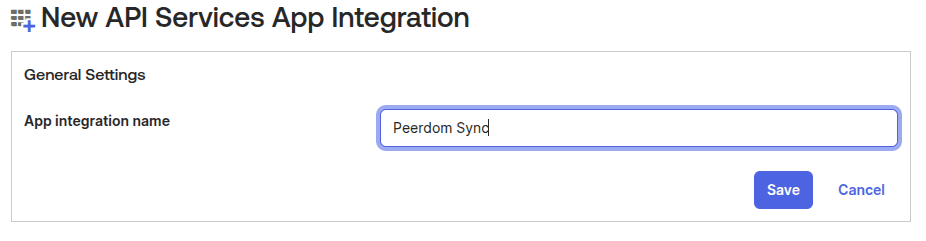
- Give the application a unique name. We suggest
Peerdom Sync:
- Once the application is created, note down the Application ID, on the general tab under "Client Credentials". Afterwards, click "edit", and change key type to:
Public key / Private key.
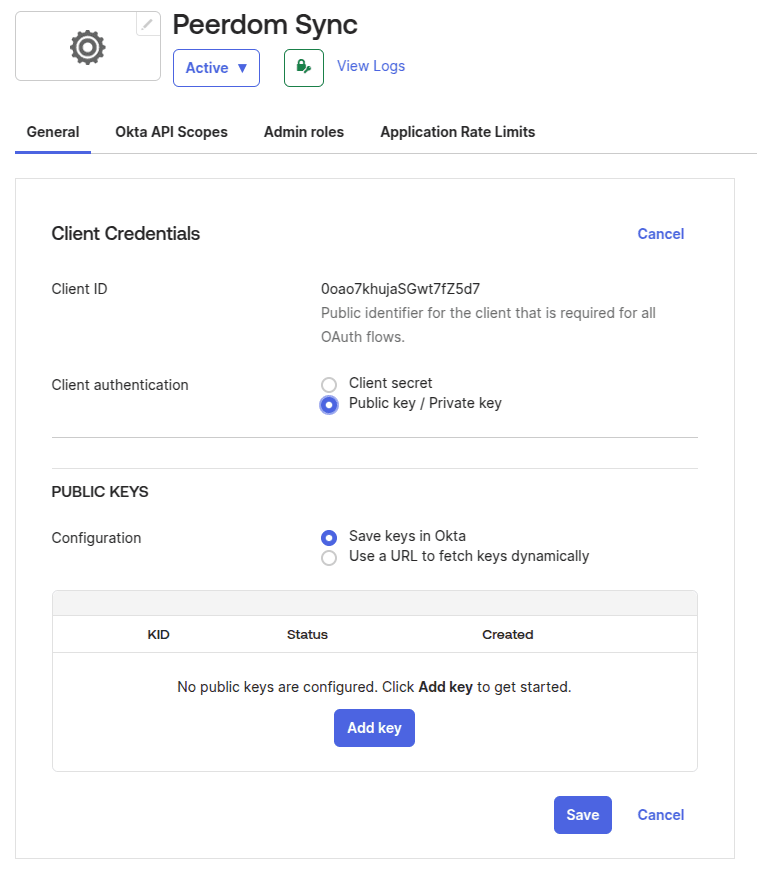
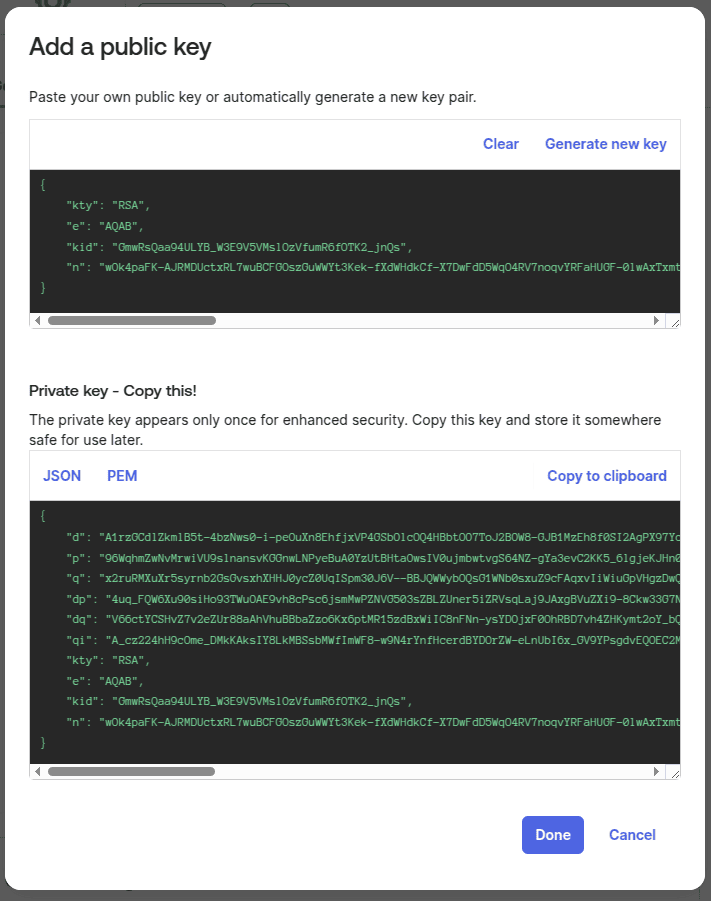
- Then click on "Add key", and a new window pops up:
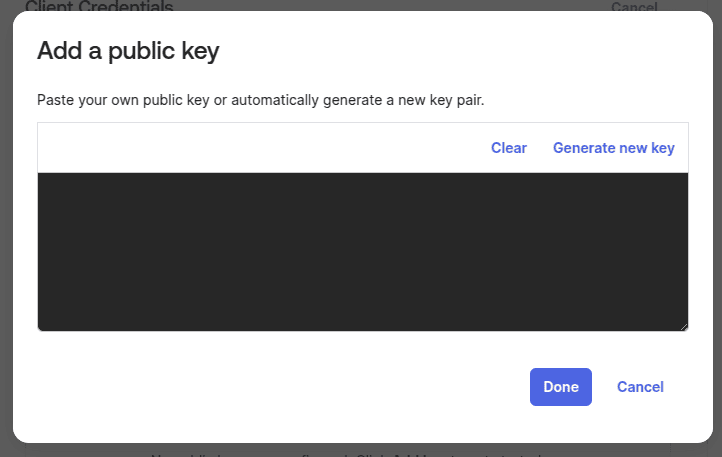
- There, click on "Generate new Key", after the following shows up. On the bottom one, where it says "copy this", copy the JSON certificate, and store it. WARNING: You wont be able to retrieve this in a later step.
We recommend you to store this JSON certificate in a text file, as you won't be able to retrieve it later inside of Okta, and we will need it.
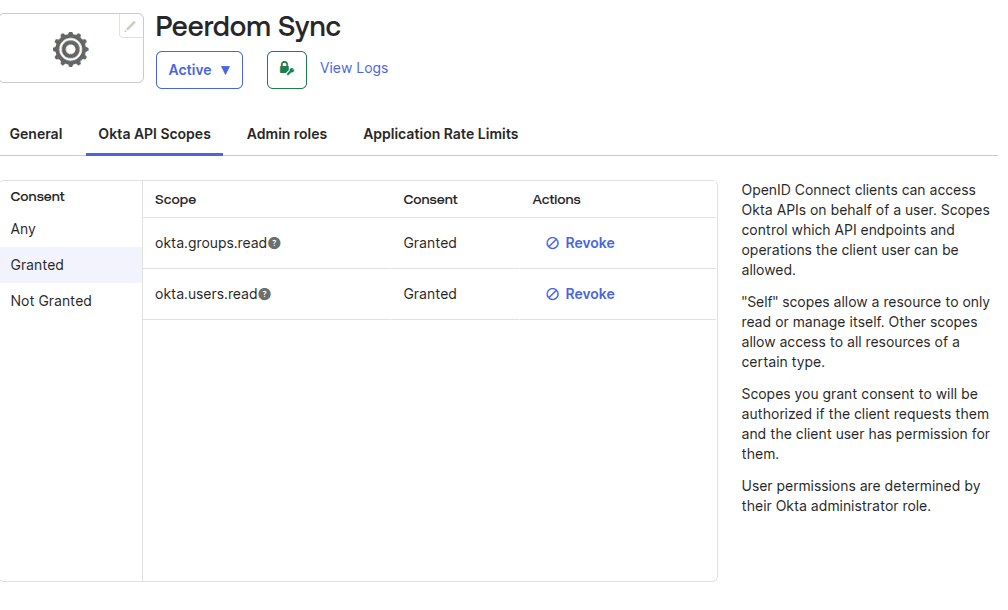
- Navigate to the tab "Okta API scopes". Search for
okta.user.readandokta.group.readand grant those scopes:

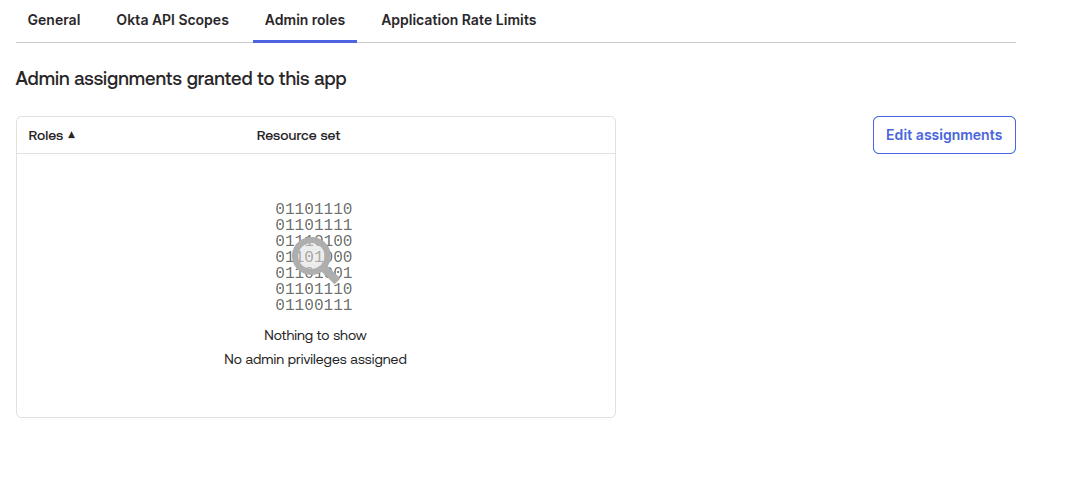
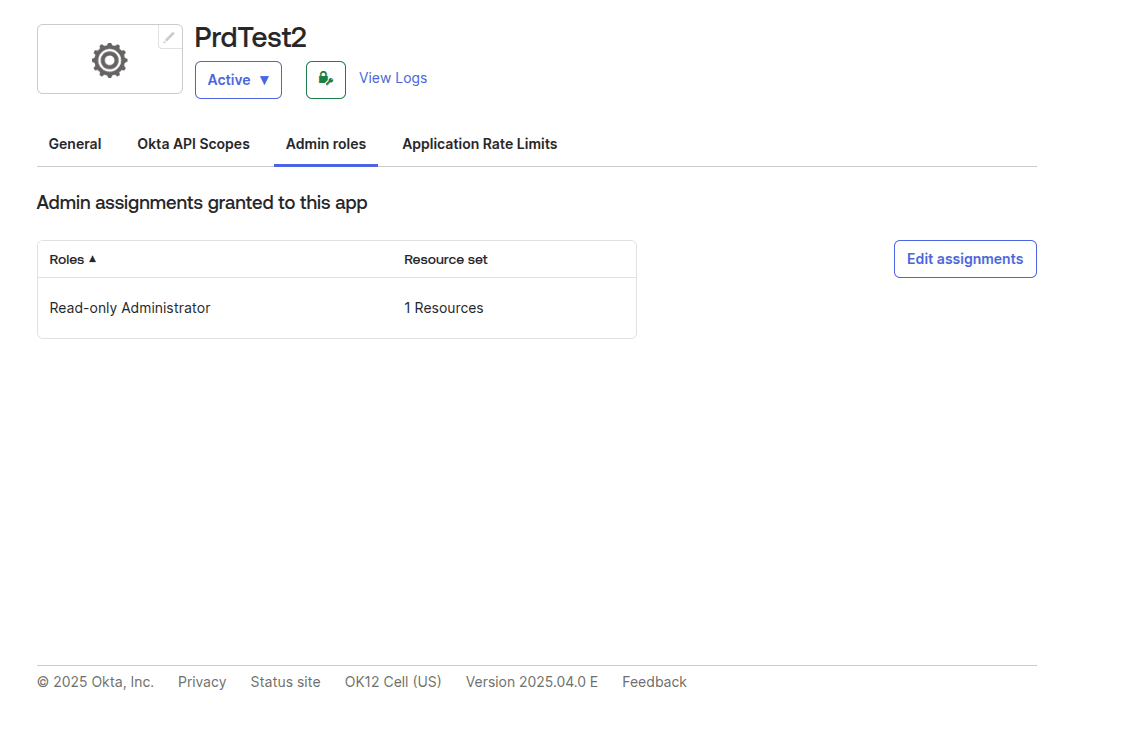
- Navigate to the the tab "Admin Roles", and click on "Edit assignements":
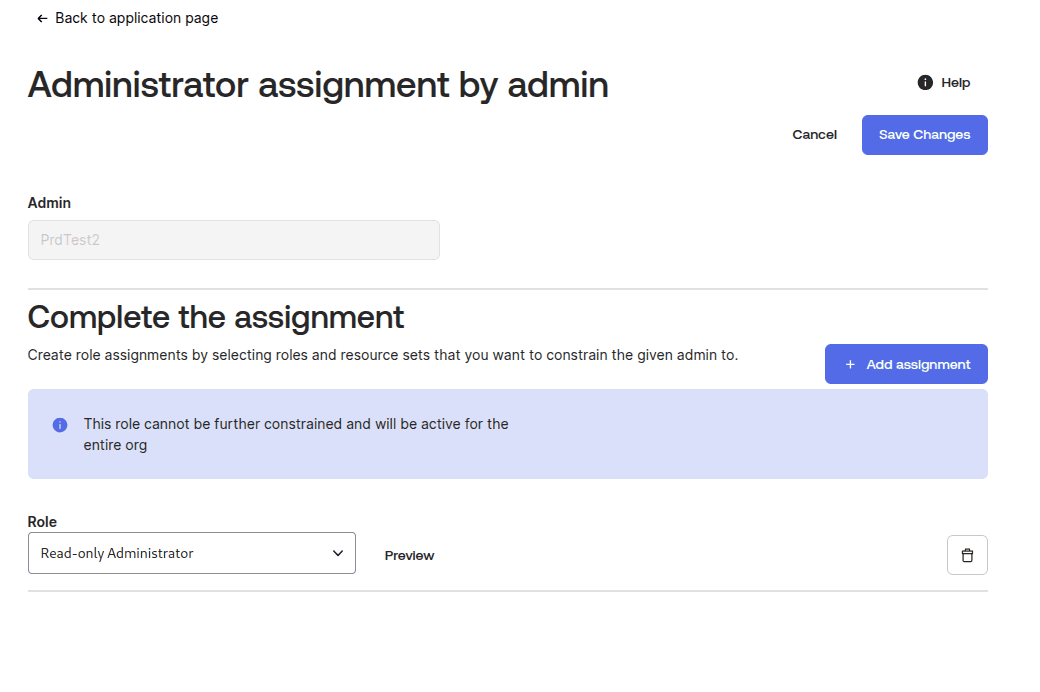
- In the drop-down, select
Read-only Administratorand save the changes:
- Afterwards, you should see the following:
What we need from you from this step to make login work:
- The application client ID (Example:
0oao72vaj7DRFqFxv5d7) - The JSON certificate from "copy this".
Not able to get all points? Feel free to contact our support to get some help.