The org chart that saves you money.
Peerdom clarifies ownership and decision paths to boost productivity during onboarding, transformation, M&A, restructuring and certification audits.


How it works
in 3 simple steps
Visualize
Build an interactive map of your people, teams, roles, and work allocation.

Share
Empower peers to find people and information on your enhanced org chart.

Integrate
Integrate goals, projects, employee data, and other tools to complete your map.

Use Cases
Organizational Transformation
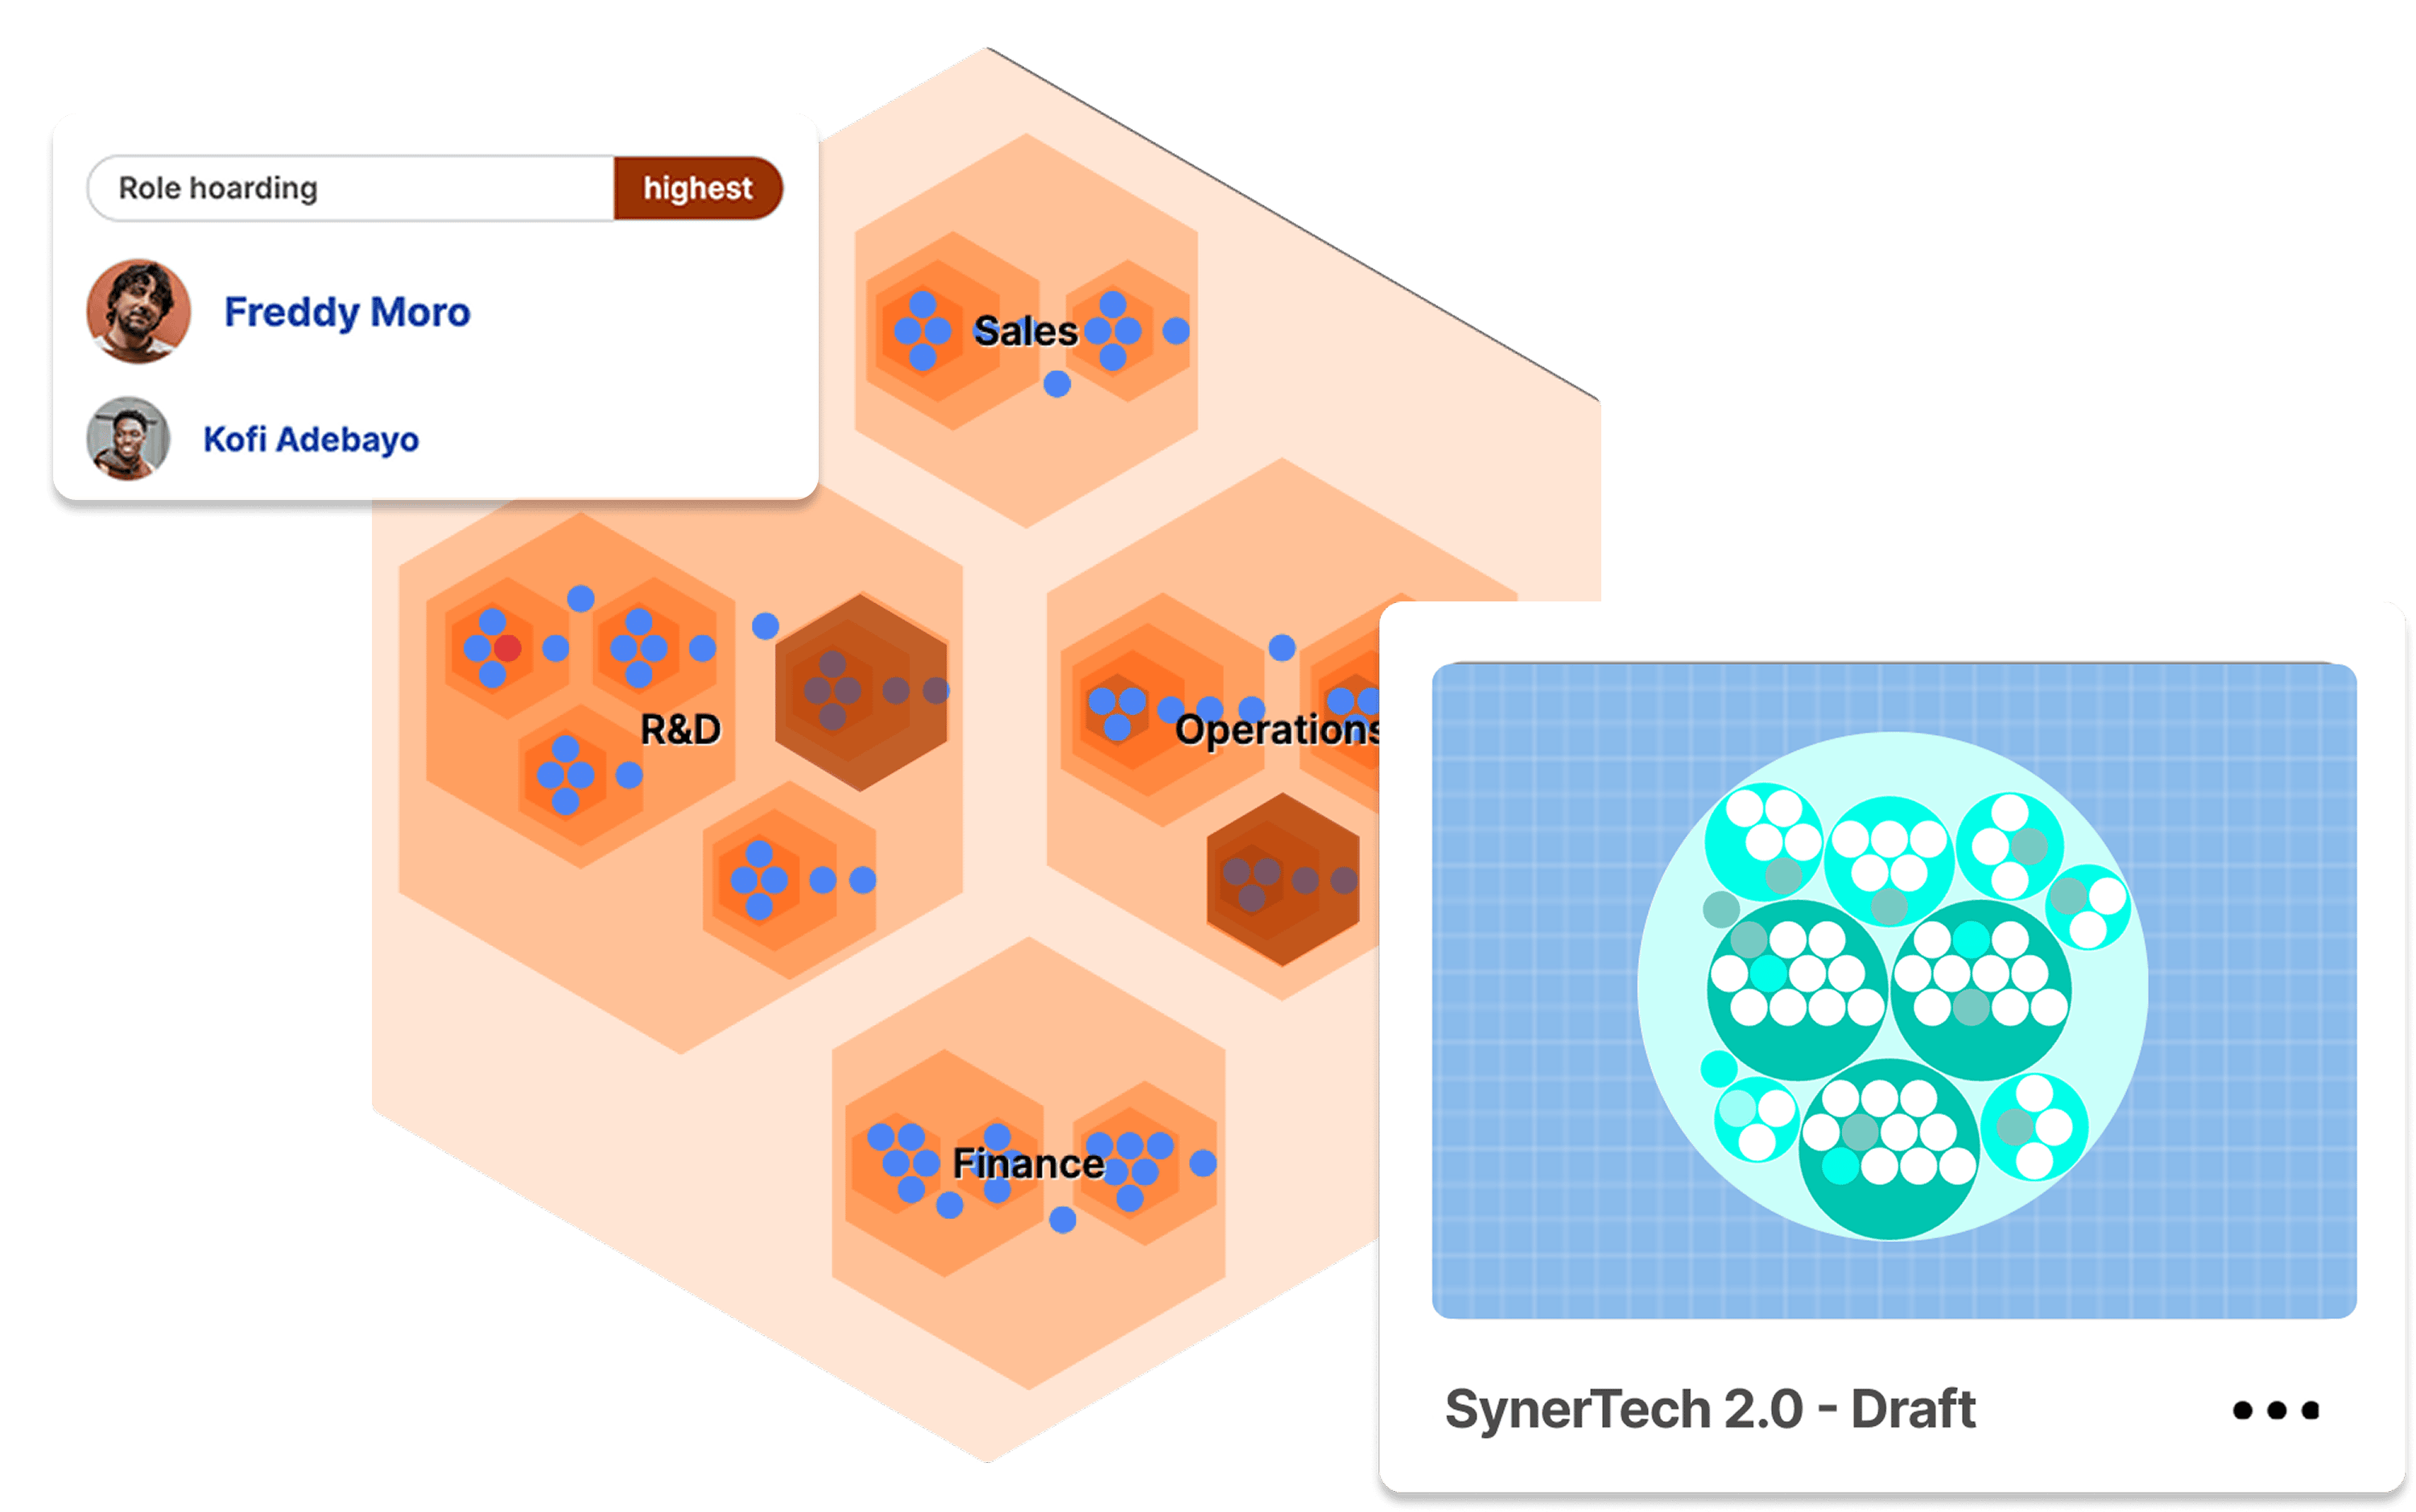
Whether you are aiming to work in a more flat or agile way, adopting a new operating model, or simply restructuring, Peerdom is the perfect partner for your transition.

Merger & Acquisition
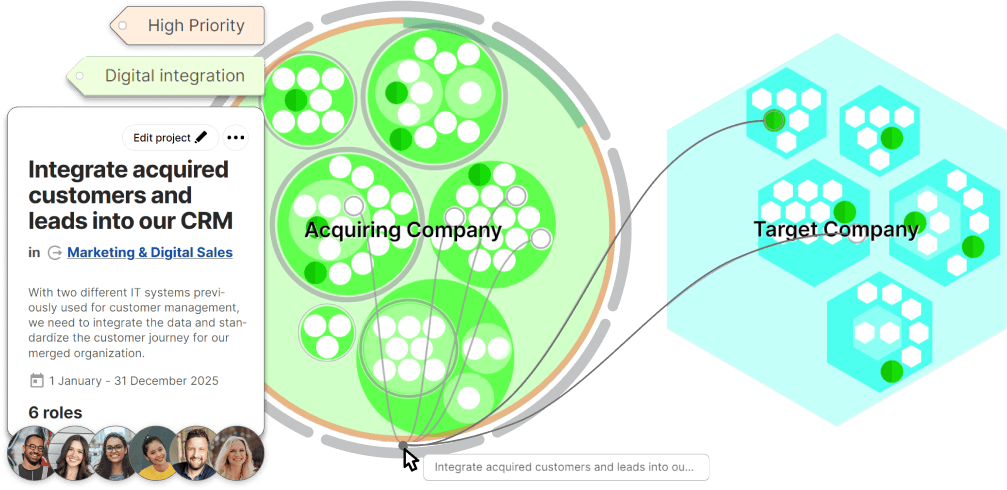
Get two organizations to work as one in no time. Peerdom speeds up post-merger integration with clear visuals that keep everyone productive throughout the integration process.

Hypergrowth
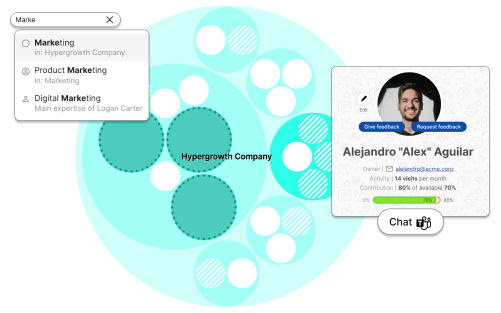
Onboard new talent for instant success as current team members stay up-to-date with how responsibilities are changing. Peerdom helps organizations grow rapidly while remaining aligned and productive.

ISO Certification
Stay audit ready and improve quality with a live org chart.

What makes Peerdom great
Manage your evolving organization with Swiss 🇨🇭 precision
Grows with you
Simple design lets you add functionality only when needed.
Map quickly
Templates and quickstart features to help you map quickly. Get started in minutes.
Fully customizable
Customize roles, teams, and profiles to fit your needs.
Guest accounts
Add free guests to collaborate with partners, freelancers or visitors.
Connect anywhere
In-office, remote, or work from home: this is your digital workplace.
Integrates smoothly
Easy to connect with your IT and HR systems through multiple integrations.
How progressive companies get ahead
Peerdom perfectly meets our needs: lightweight and very easy to use, it allows us to see our organizations as we have never seen them before.
Peerdom has served as a visual, educational tool for our transformation. You can really see the impact our new ways of working has on you as an individual, while still getting the full picture of the company at the same time.
Peerdom is a user-friendly tool that helped us make our organizational model tangible. Our 100+ Loycomates got used to it in only a few days and new employees say they are immediately oriented, compared to what took them years in their previous organizations!
Frequently Asked Questions
Common questions about Peerdom and how it works
More questions?
It's this way →