Tips for mapping out your organisation for the first time
New to org mapping? Get practical tips on building your first Peerdom map—clarifying roles, aligning teams, and creating a foundation for agile collaboration.
Overcome the blank canvas
With all its infinite possibilities, a blank canvas can feel overwhelming. Where to begin? What are you trying to achieve? Mapping your organisation to clarify relationships, roles, and responsibilities is no different; there’s art in cartography.
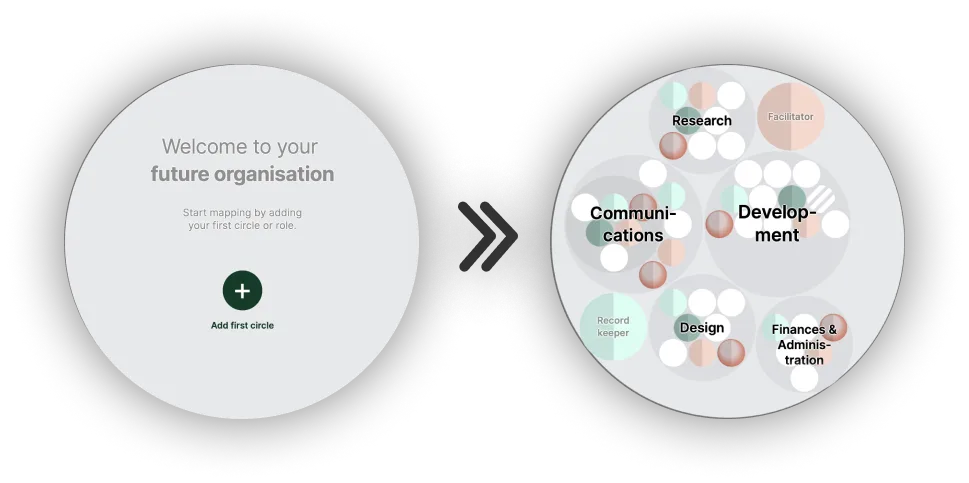
In this article, we provide insights and best practices collected from over 300 organisations who have successfully conquered the blank slate to publish their first interactive org chart. We break down the process into four fundamental aspects: why map your organisation, who participates in the mapping process, what should you map, and how to do it.
Why map
Organisations are constantly changing. Individuals come and go. Work adapts to a shifting market. Relationships are formed both formally (e.g. employee — manager) and informally (e.g. afterwork beers). With so much going on behind the scenes, it’s difficult to keep track of:
- Who currently works with whom and on what?
- Where is help needed?
- Who has the authority to make what decision?
- What exactly is our organisation working towards?
Without answers to these questions, collaborators become frustrated or confused because of a lack of clarity and are unable to live up to their true potential because of wasted time and energy.
Organisational charts (org charts) provide answers to some of the above questions by drawing out relationships within an organisation. For example, classical pyramidal hierarchies (organigrams) list members of the organisation, highlight who has the authority to make decisions (via reporting lines), and detail how work is functionally split (e.g. by team or department).
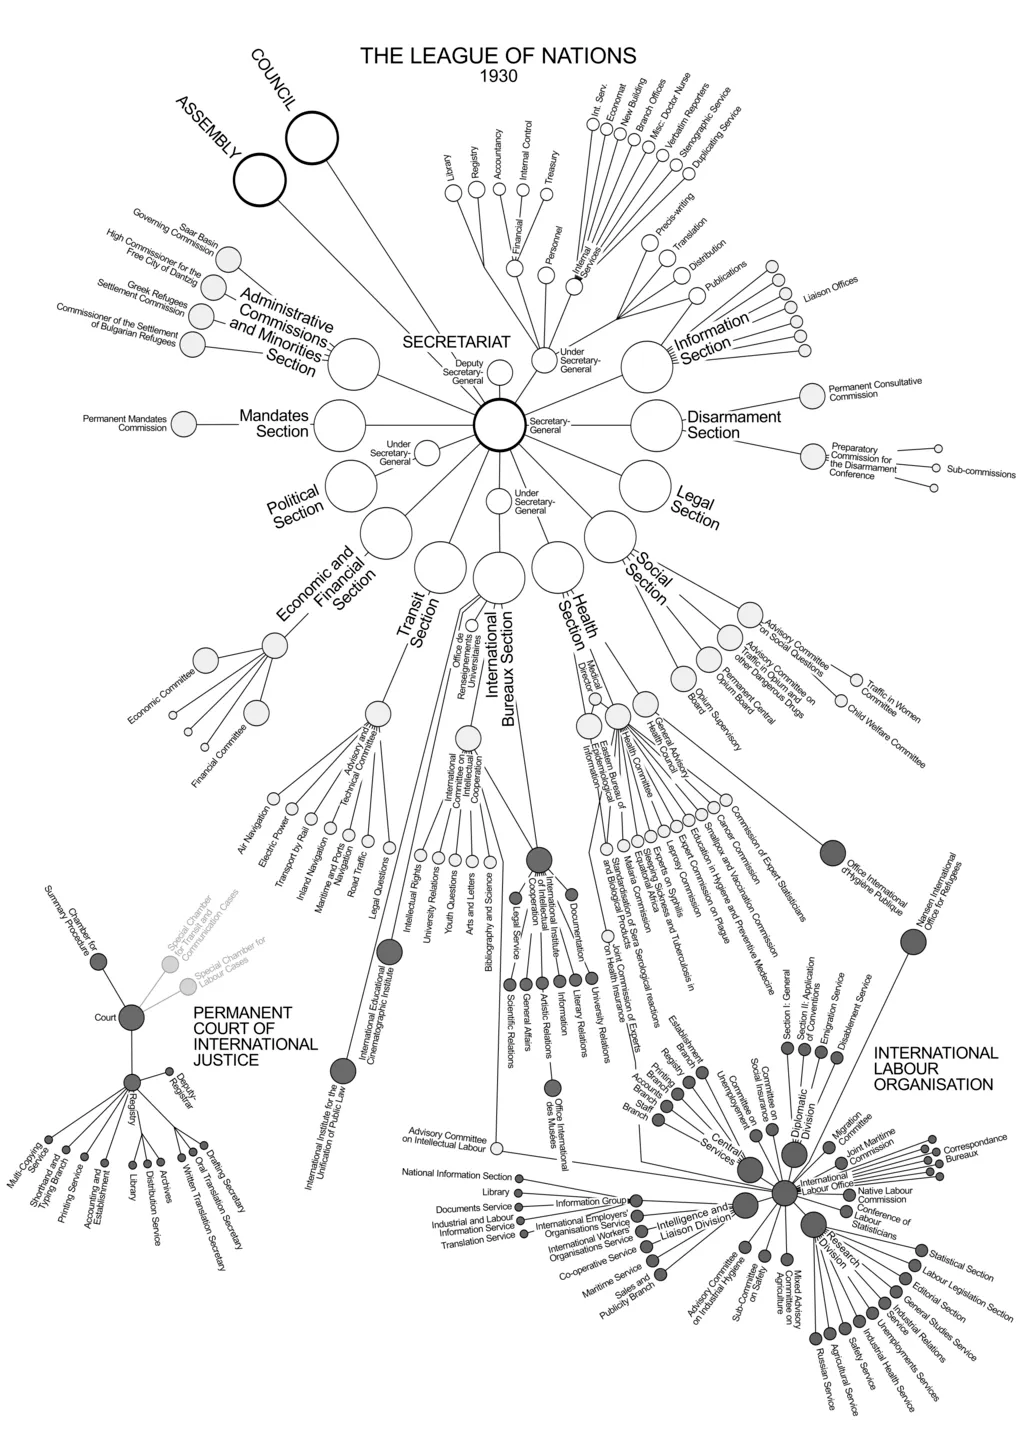
These types of org charts have limitations. They tend to be static oversimplifications that place employees in a single, fixed position: a job title. In a previous article, we explained why considering job roles rather than job positions overcomes classical org chart shortcomings.
At Peerdom, we reimagine the org chart as a dynamic work map. A work map better represents the actuality of ongoing work, brings team alignment, helps efficiently distribute work, and gives everyone the information necessary to find how they can best contribute while satisfying both their individual and the organisation’s needs.
Who to involve
So, you’re ready to start mapping. But who should do all the mapping work? What options exist for who participates in drafting your map? We have observed a wide range of methods.
At one extreme, consider a fully centralised process: a single cartographer describes each role and its responsibilities and then assigns team members to their roles. On the other extreme lies a fully decentralised process: every member within the organisation participates by creating and describing their own roles.
There are also in-between options. For example, a small team of volunteers might lead the project, or a representative from each team or department might take responsibility for filling in their own section of the map. No matter what method you choose to start mapping, you should always involve more people later. You want to create an accurate reflection of reality, so it’s critical to check your map with as many people in the organisation as possible.
What to map
Now that you know who will be mapping, it’s time to add content to your work map. The goal is to condense work into roles that actively contribute to your organisation’s purpose. Be careful to describe roles that reflect the current reality — not an idealised future.
Many organisations already have some form of an organisational structure documented (e.g. in organigrams, spreadsheets, or a drawing on PowerPoint). If the document is up to date, start from there. On the other hand, if this is the first time writing down roles and responsibilities, do not despair. You might be able to piece together written traces of your structure scattered across other documents such as job descriptions, job ads, or email signatures.
Defining roles
Start with the name. Try to make it obvious what the role achieves, like Speaker or Key Accounts Liaison. Next, provide a short description of the role’s purpose, answering the question “Why does this role exist?”. For example, the purpose of the Key Accounts Liasion might be: “Ensuring a smooth experience and continued success for our key clients.”
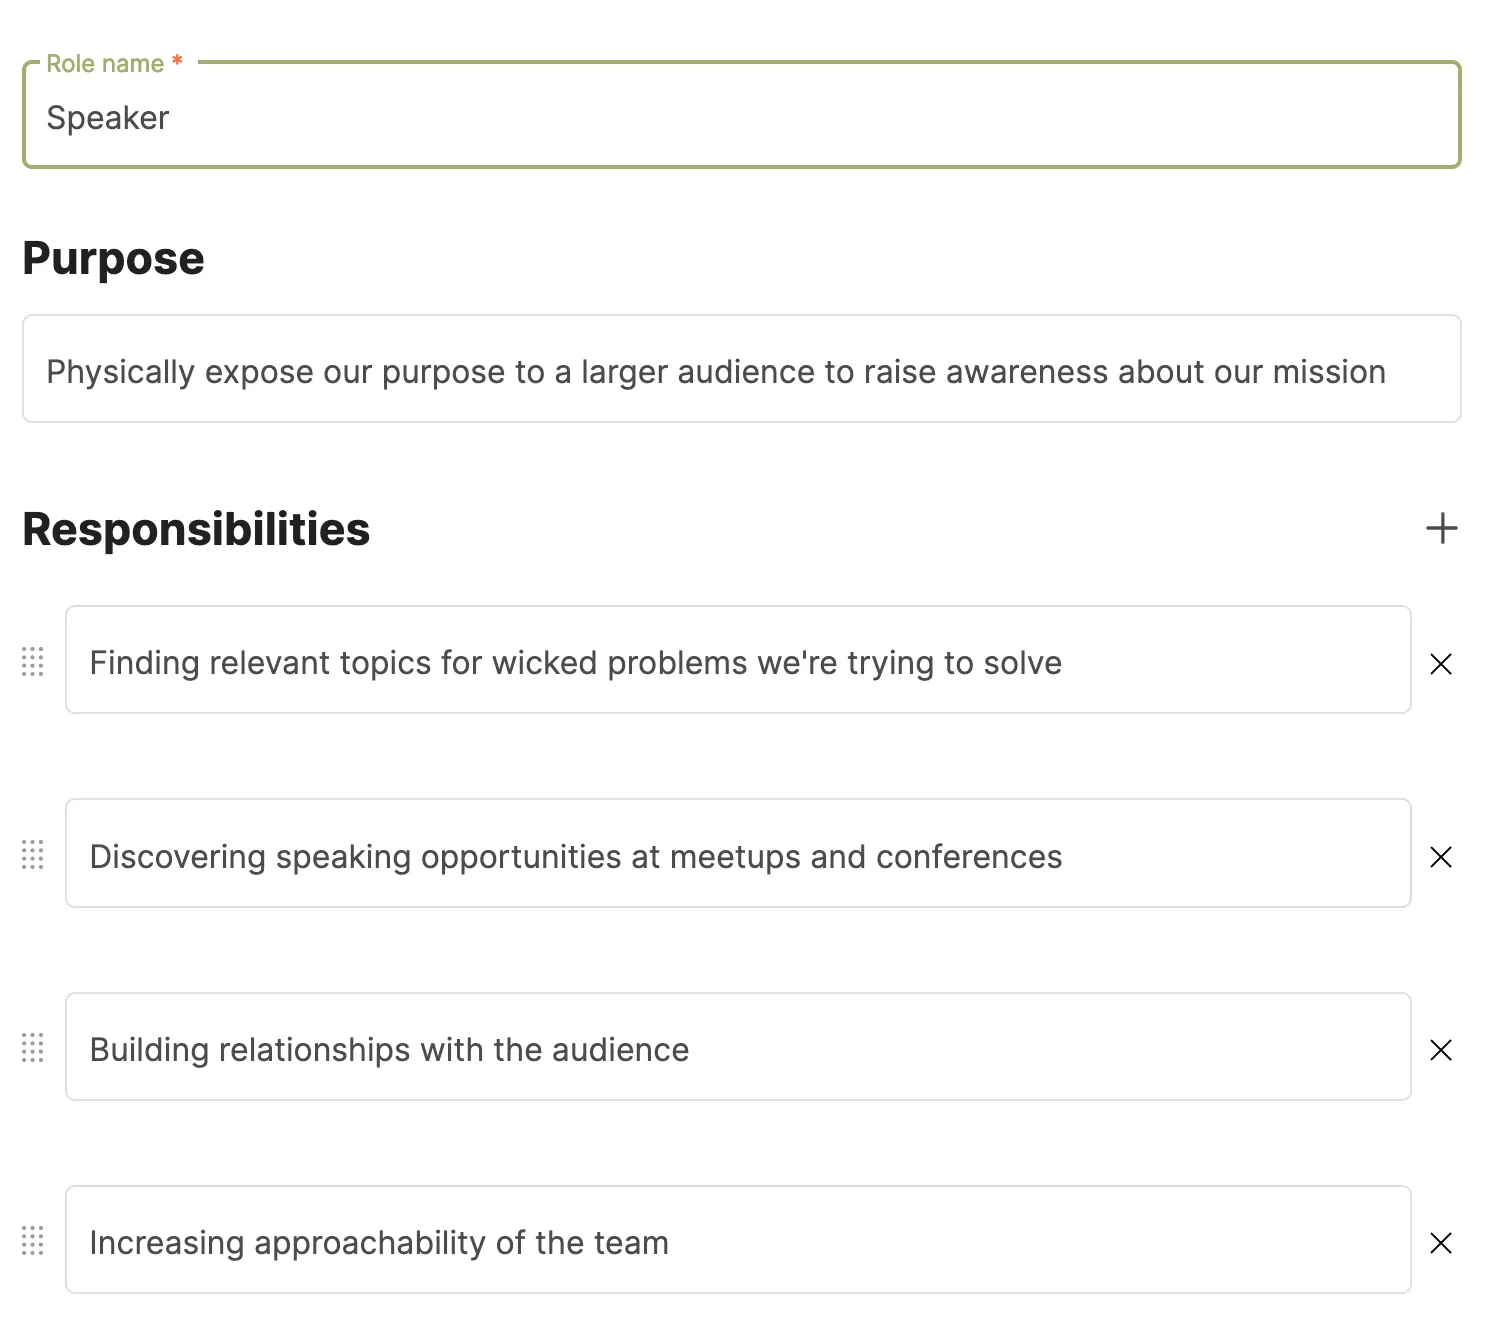
We are often asked how much detail to go into when describing roles and responsibilities. A rule of thumb is to only describe the minimum amount to ensure mutual understanding across the team. Avoid descriptions that are too open for interpretation as it will lead to diffusion of responsibility, misunderstanding, or conflict. By contrast, over description stifles creative problem solving and creates role descriptions that are difficult to maintain.
Sometimes, responsibilities can be clearly inferred from a single role title. In other cases, you might want to enter more details. You can always start with a minimal description and later elaborate as your map evolves.
Assigning roles
Each person in your organisation can hold multiple roles. Roles can also have multiple role holders. After assigning people to roles, be sure to ask everyone to verify that their personal collection of roles (role portfolio) comprehensively represents their ongoing work.
Grouping roles
Now that you’ve mapped all roles, it’s time to add structure. Groups of roles help gather those who frequently work together. This speeds up communication and facilitates learning between peers with complementary expertise. When considering how to group roles, here are some ideas:
- Functionally group roles into themes or topics. For example, all roles having to do with internal or external communication could be gathered into the Communications group. Although functional splits are how organigrams represent teams, they usually result in information silos. By contrast, a work map allows a single person to hold multiple roles across groups, so that information can flow freely throught the organisation. This breaks down silos and fosters an interconnected network of teams.
- Group roles together using a shared service or hub-spoke structure. Here, the organisation is split into small groups of operational roles which directly serve the core business and market, and second group of supporting roles who are at the shared service of the operational teams. For example, Loyco, a HR, insurance and risk management organisation in Switzerland organises this way.
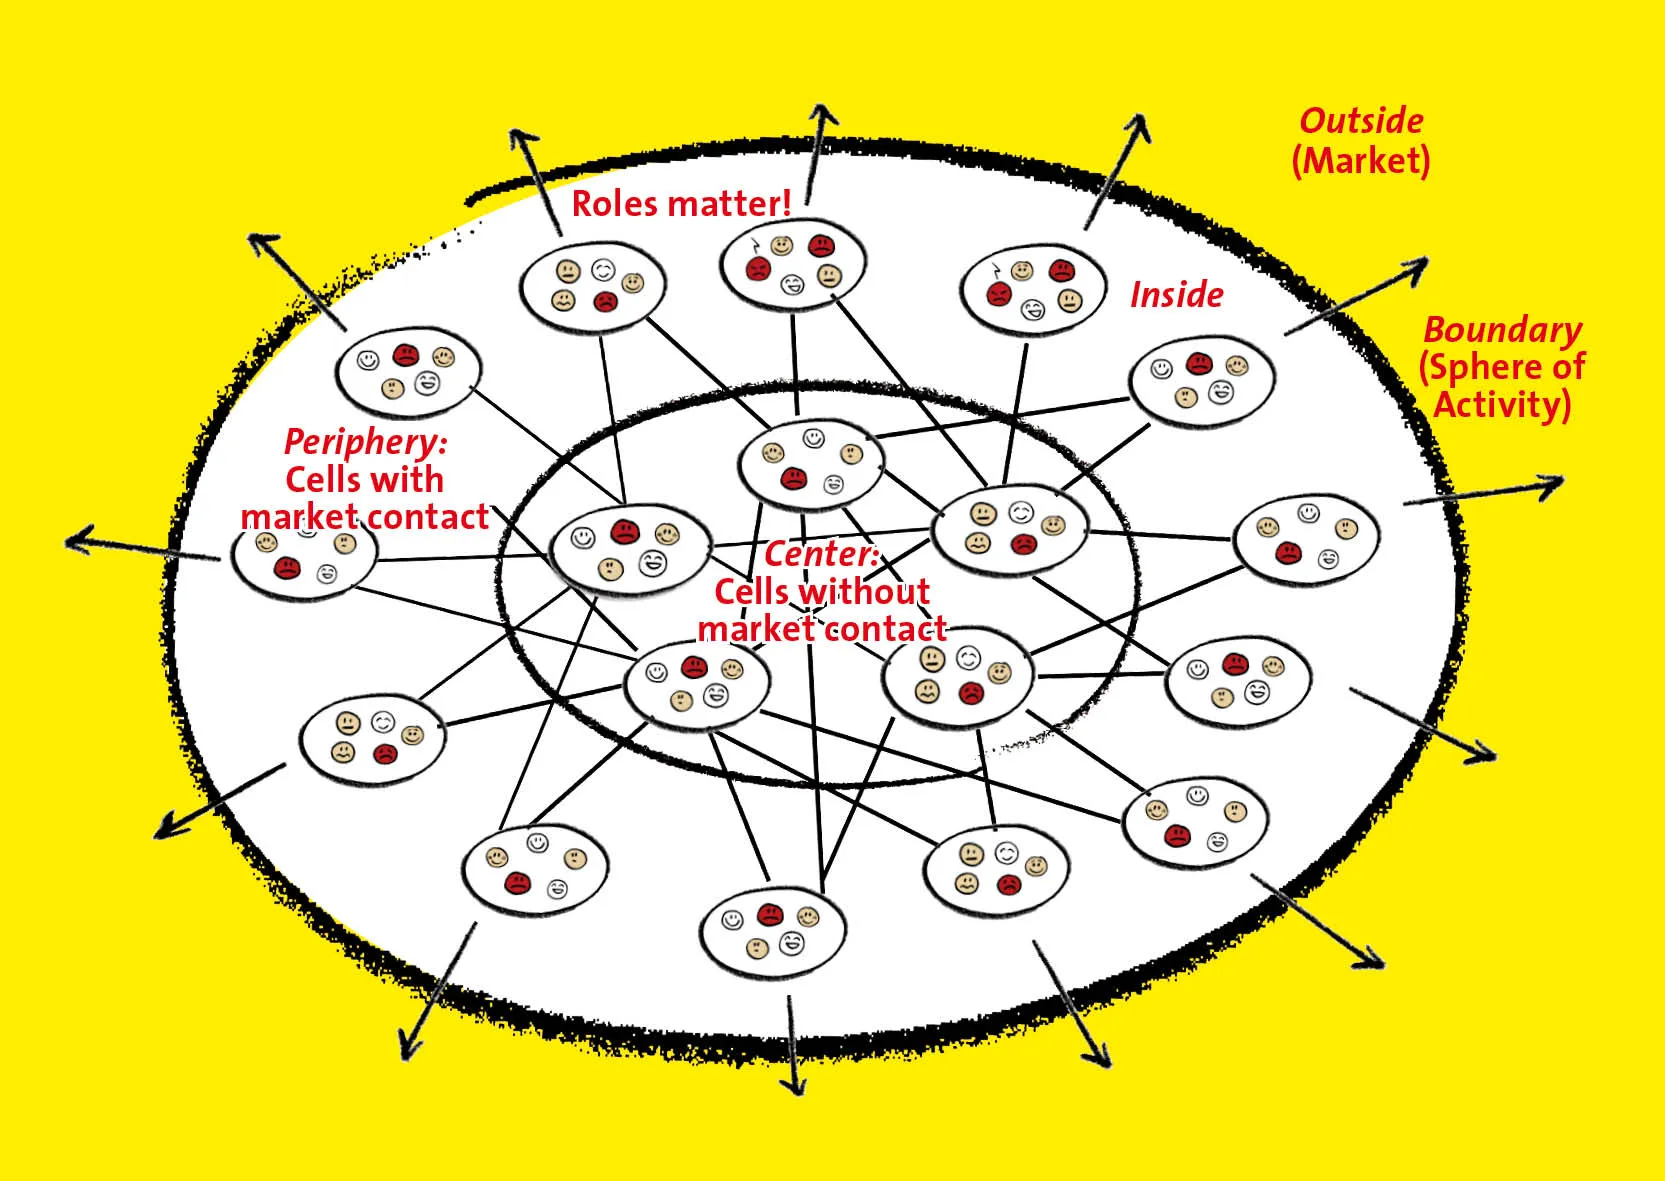
No matter how you cluster your roles into groups in this first draft, you can always reorganise in the future to better optimise collaboration and to match the ever-changing reality of how you really work together.
In particular, you might also ask yourself: what if we had split or grouped the roles differently? What would our ideal future organisation look like? The Peerdom Drafts app was made for such experimentation. With the Drafts app, you can duplicate your map into a copy and be free free to reorganise and play around with your alternate map. You can choose at any time which of your drafts to publish as the live map.
How to map
The process of creating your map is closely intertwined who you involve and what content you map. If you do not have enough information to create an accurate map, consider participatory exercises that assemble role descriptions from the whole team.
Role mapping workshops are a way to decentralise the task of defining roles and responsibilities, while maximizing the chance that they truly reflect what’s happening on the ground. At Peerdom, we work in close collaboration with organisational coaches, our so-called Companions, who each have their own unique approach to running a collective role mapping workshop. In a series of future articles, we’ll dive into their strategies so that you can run your own.

Set a time limit and publish
Remember that you are publishing a map that will remain under constant evolution. There is no perfect or finished product. As the terrain (work and people) evolves over time, you’ll need to update.
We therefore suggest that you aim for a best approximation of the current reality that you share with the team to stimulate further improvements. We recommend limiting your initial mapping exercise to a few weeks or a month as it’s usually enough time to sketch out a draft and get feedback from the team.
A real-world example from the NGO HEKS/EPER
HEKS/EPER “supports development cooperation projects to combat poverty and injustice and advocates for a life in dignity for all people”. They created a work map in a two stage process. First, they contacted one of our companions and collectively defined their roles and a grouping structure in a role workshop. A single person, holding an org-wide Secretary role, was responsible for transferring the textual descriptions from Excel into its visual representation. Continuous updates to the map are also communicated to this role, who updates the map accordingly.
Learn from the best
The best way to learn about mapping is to seek inspiration from others. In the Peerdom Showcase, you can explore live organisational maps to see how others are defining and grouping roles to create their own work map.
